The humble incandescent bulb; it’s served us well, but better technology is already here.
Originally published in Slipstream magazine, October 2017.
While there are an increasing number of examples to the contrary, the vast majority of all motorcycles ever made have shockingly poor headlights. My indignant rage towards the pantheon of motorcycle manufacturers is tempered by the fact that most people don’t often ride at night, allowing the humble headlight to be relegated to the same status as a spare tire: a backup feature you’ll very rarely use. Why spend money on developing a feature that no-one wants or needs? So, they keep it cheap and basic and put the R&D into other things that actually sell bikes.
Even today, when bikes such as Honda’s Africa Twin and Yamaha’s R1 come with factory-fit LED headlights, the new systems are chosen for reasons such as weight and energy consumption, not because consumers demand it. We’re at the point now where an LED headlamp system is no more expensive than an old-fashioned incandescent bulb setup, making the £1,000 premium BMW charges for this option on the R1200GS appalling, to say the least.
But some of us use our bikes to commute, and with the nights drawing in it’s quite likely that for the next few months you’ll spend most of your riding in total darkness. When riding safely depends so much on looking for hazards and picking a safe, stable line through a corner, the faint illumination provided by many motorcycle headlights are a genuine risk to life and limb. The good news is that fixing this might be both cheap and easy.
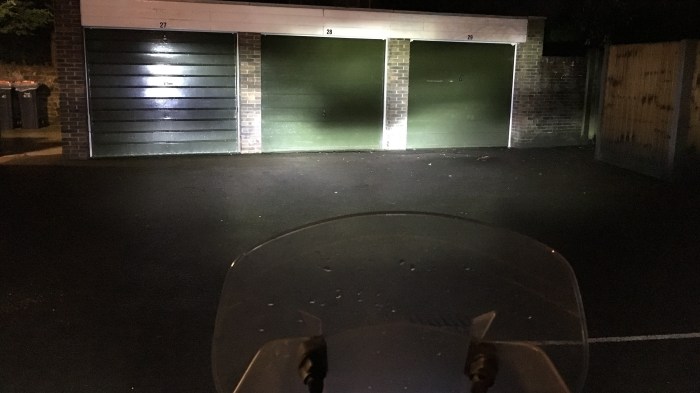
Headlight aim is important: too low and you’re wasting light, too high and you’re dazzling others.
So; how can you improve your motorcycle’s sub-par headlamps? Well, the first thing to do is to make sure that they’re clean and adjusted correctly. It’s impossible to get this 100% accurate without MOT testing gear, so it’s worth checking your handiwork at your local garage just to be sure. I find a good rule of thumb is that the beam should fall near the number plate of the car in front when you’re a bike-length behind it at the lights. If you’re shining light into the cabin, you’re definitely too high.
Check your owner’s manual on how to actually adjust the beam height, and don’t forget that changing the attitude of the bike by adding or removing weight will change the angle of the headlights. You MUST adjust your headlights or your suspension when adding a passenger and luggage, otherwise you’ll be pointing your headlights straight into oncoming traffic for the whole trip!
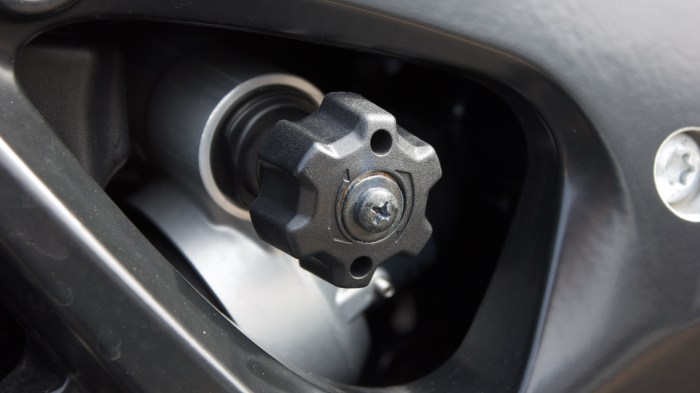
Added luggage or a passenger? Adjust your suspension or you’ll be blinding other road users.
Next, get some better bulbs. You’ll have to find out what type your bike uses first – most likely H4, H7, or in odd cases HB3/HB4. H4’s are dual-filament bulbs; that means they incorporate high and low beams in one single bulb. All others are just like the bulbs in your living room: they’re either on or off, so you’ll have at least two different lamp housings with different reflector designs for high and low beam patterns.
You can buy more efficient bulbs from the likes of Philips or Osram that turn more of those 55W of power into light rather than heat for around £30-40 a pair. These really are much, much better than the bulk-buy discount junk that manufacturers install at the factory. As stock, a Triumph Street Triple is genuinely dangerous at night. With proper bulbs, it’s at least manageable, and you’ll still be 100% in compliance of UK law.
If you’re after further improvements still, then you’ll have to dip into some legislative grey areas. It is possible to buy higher-wattage versions of the standard bulbs, but like the loudest exhaust systems, they’re sold for off-road use only. The extra power draw might also fry your electrical system, and the extra heat can melt your reflector housings or lenses. My advice: steer clear.
Next, we have HID conversion kits. These aren’t explicitly illegal, but only factory-fit HID systems are homologated for road use, and then only on vehicles with self-levelling suspension, which only the very latest bikes can boast.
If you want to try it anyway, be aware that you’ll need space near the lights for the ballast box, which builds up the 25,000 volts needed to start those systems. They also take a second or two to warm up, so switching from high to low beam will leave you without much light for a moment. Factory-fit versions on cars use mirrors and electric motors to switch between modes – that won’t be possible on an aftermarket kit. And if your reflectors are designed for dual-filament H4 bulbs, you’ll essentially be stuck on high-beam at all times, making you really unpopular with other road users. Personally, I would skip this option as well.
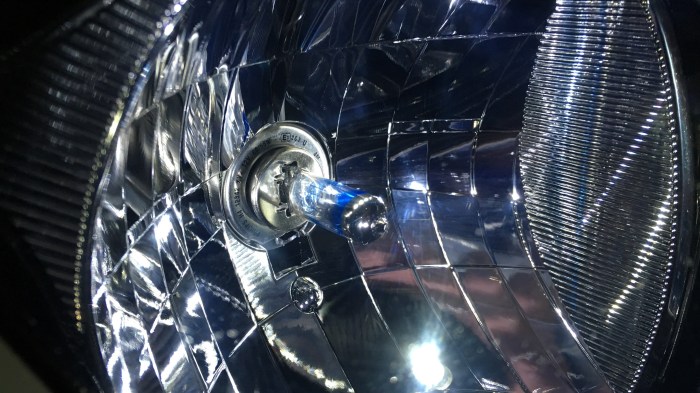
On the left, a high-quality 55W incandescent bulb. On the right, an aftermarket LED.
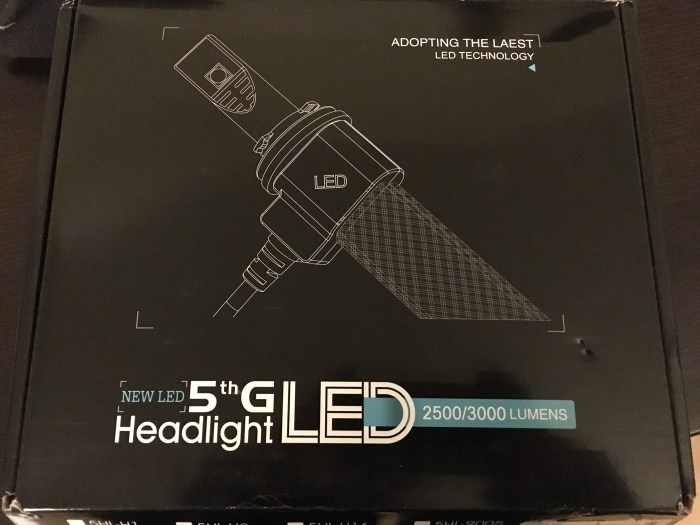
Instead, I would go straight to LED ‘bulb’ kits. These are basically plastic and metal assemblies designed to place high-powered LEDs in the same place within an existing reflector housing as the glowing filament part of your existing bulbs. Sold according to the same specifications (H4, H7 etc.) they should be plug-and-play replacements for your existing bulbs, and fit the existing wiring with zero modifications necessary.
That being said, all LED kits have some form of heatsink at the base of the unit in order to dissipate heat generated when the unit is running. It’s far less heat than a traditional bulb, but this still takes up additional space that you may not have available depending on your motorcycle’s particular design.
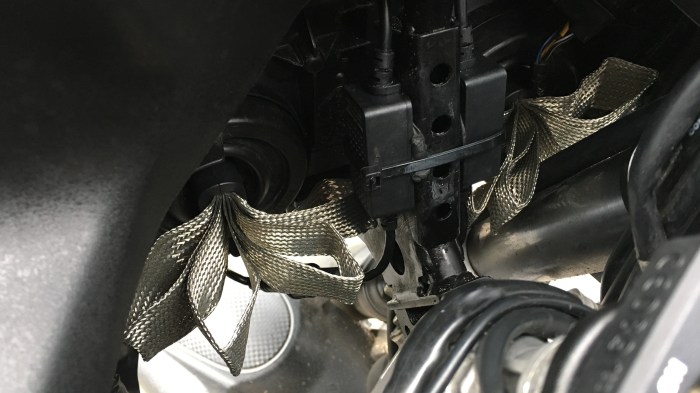
My V-Strom has plenty of space for these flexible heatsinks behind the fairing; yours may not.
If you want to play it safe, you can now buy kits from Phillips that retail for around £180 for a pair of what I shall refer to as ‘bulbs’ for want of a better word. That’s a lot of money, especially when there’s no easy way to find out in advance if their particular design will fit into your bike’s housing, but at least you can be guaranteed of the quality, longevity, and compliance with the specification of bulb the kit aims to replace.
The alternative is to delve into the murky world of Chinese-made eBay kits, with all the caveats and potential pitfalls to the unwary. The good news is that with a few tips and a keen eye you can get yourself a pair of ‘bulbs’ for less than £20 that will probably be just fine. Chinese manufacturers and vendors aren’t known for their care and attention when it comes to complying with international manufacturing standards or specifications. They play fast and loose with the numbers and seem engaged in an escalating war of increasingly wild claims of what their products are capable of.
Take claims made about brightness with a pinch of salt; it’s not exactly a regulated market.
If the bulbs you’re looking to replace are single-filament type, then the only thing you really need to worry about are that the very end of the “bulb” is capped to block light from emitting directly forwards, odd as this may seem. Look closely at your existing bulbs and you’ll see they do the same, relying on the reflectors all around them to direct the light without dazzling other drivers.
If your bike uses dual-filament H4 bulbs, you have to be careful; in order to work with your existing reflectors, the low-beam LED emitter must be blocked from transmitting light below the horizontal line. Many Chinese designs are missing this blocker entirely, or mount the blocker too low, allowing light to reach the lower half of the reflector, from where it is bounced up to dazzle oncoming drivers.
Compare the seller’s photos carefully to your existing bulb and you’ll see what I mean. In my early experiments I actually had to modify kits using Sugru to ensure my beam pattern wasn’t compromised. And if your new bulbs don’t work at all, try plugging them in backwards. Polarity matters with LEDs, and if you (or the manufacturer) has the cables the wrong way around, nothing will happen.

Close, but no cigar: I didn’t want to blind other drivers, so I had to modify my eBay LED ‘bulbs’.
Kits with passive cloth-type heatsinks are easy to squeeze through rubber gators, and those with bulkier solid heatsinks or even fan assemblies usually have removable mounting plates to allow you to fit them to housings with clamp-type locking mechanisms. Many designs utilise a small external transformer to lower the voltages for the LEDs, so you may need some space to tuck those out of the way. All the kits I looked at claimed a high degree of water-proofing, but unless you regularly submerge your bike you should be fine regardless.
After installing your new LEDs, you’ll notice that your side-lights, sometimes called position lights, look dull and yellow by comparison, so you may want to swap those out as well. The specification on every vehicle I’ve ever seen is called W5W (also known as 501); you can get cheap Chinese ones on ebay, or go for fancy ones from a reputable manufacturer. Odds are the expensive ones will fit better and look nicer, and cheap ones tend to be unreliable and flicker.
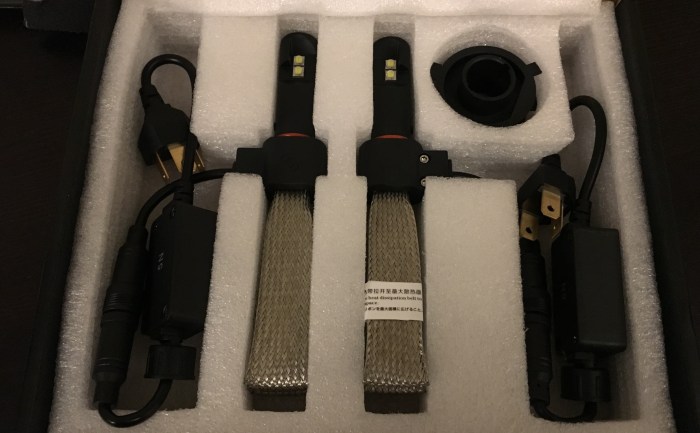
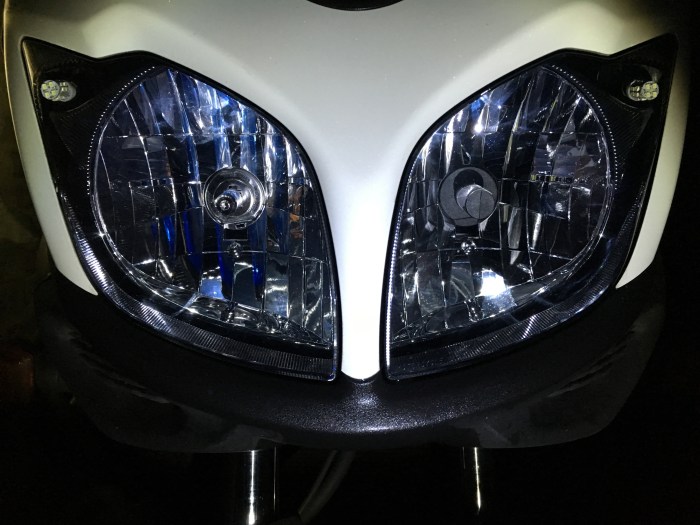
This H4 kit is plug & play, but you’ll need to find somewhere to secure the in-line transformers.
You will want to double and triple-check your beam pattern once you’re done; you will be outputting an awful lot more light, which MOT testers don’t seem to mind as long as it’s pointed in the right place. There aren’t any specific guidelines around aftermarket LED kits, and the government can’t really impose a limit on total light output or they’d have to ban HIDs on new cars. That means that as long as we don’t drive around blinding people, we’ll probably be left alone to enjoy a much clearer view of the road.
Try it out; I guarantee you’ll never go back to standard bulbs!


You must be logged in to post a comment.